From our search history to our location data, we routinely provide Google so much information that it’s easy to forget where and how this data is being kept. Although Google uses this data to improve our user experience, occasionally it seems excessive or unnecessary to have everything preserved eternally.
The positive news is Google provides a method wherein your account data may be automatically deleted after a designated period of time. Taking charge of your data management can help you to ensure that your information doesn’t linger longer than necessary and provide you peace of mind.
This article will walk you through the steps to enable Google’s automated data deletion option, offer ideas to personalize your settings, and explain the advantages of using this basic yet powerful tool.
Controlling Your Google Information Counts
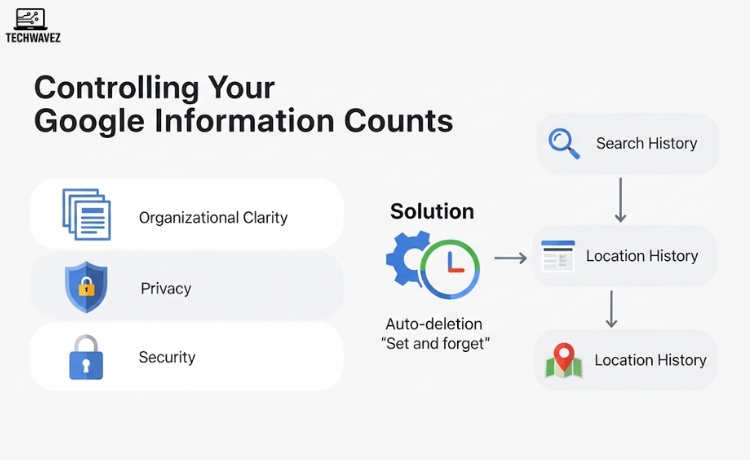
Why bother controlling the information on your Google account? The easy answers are organizational clarity, privacy, and security.
Google keeps a range of personal information to customize your experience. Your search history, for instance, helps provide more pertinent results; location data provides accurate navigation. Retaining this information endlessly might, however, occasionally create privacy issues. Frequent data clearing helps you have a better digital slate, enhances personal security, lowers the possibility of outdated data being abused.
Google lets you set and forget your data deletion choices now, rather than routinely manually removing everything. Here’s how to grab control.
Detailed Guide on Configuring Automatic Data Deletion
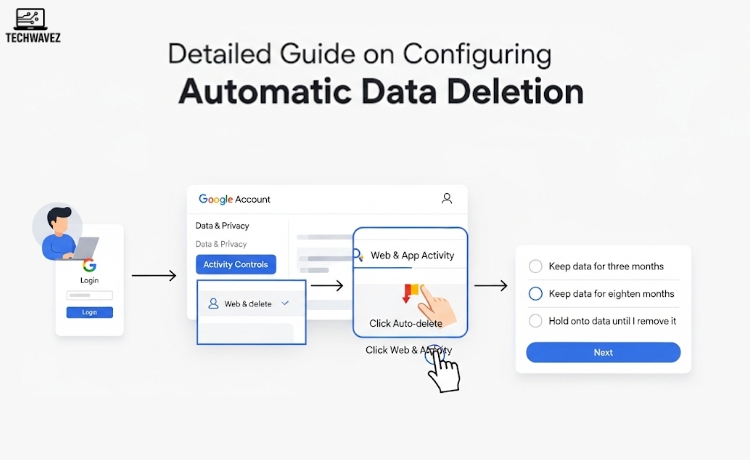
1. Log into your Google account
Visit myaccount.google.com and log on using your Google credentials.
2. Travel to “Data & Privacy”
Once logged in, on the left-hand sidebar under “Data & Privacy,” click. All of your data activity settings are housed here.
3. Find the part on “Activity Controls”
Look below for “Activity Controls”. Here Google saves categories including Web & App Activity, Location History, and YouTube History.
4. Choose the Data You Need to Control
Every activity type has unique parameters that allow you total control. Click on, say “Web & App Activity.”
5. Turn on automatic deletion
Inside every activity control, find and click the “Auto-delete” option. Usually, you will find time-frame choices like:
- Keep data for three months
- Track data for eighteen months
- Hold onto data until I personally remove it
Click “Next” to confirm the one that best fits your privacy tastes.
6. Apply these values to different data
To guarantee all of your data is handled in line with your preferences, repeat the above actions for other categories, including YouTube History or Location History.
Official Google Help: Auto-Delete Activity
You Can Manage What Kinds of Data?
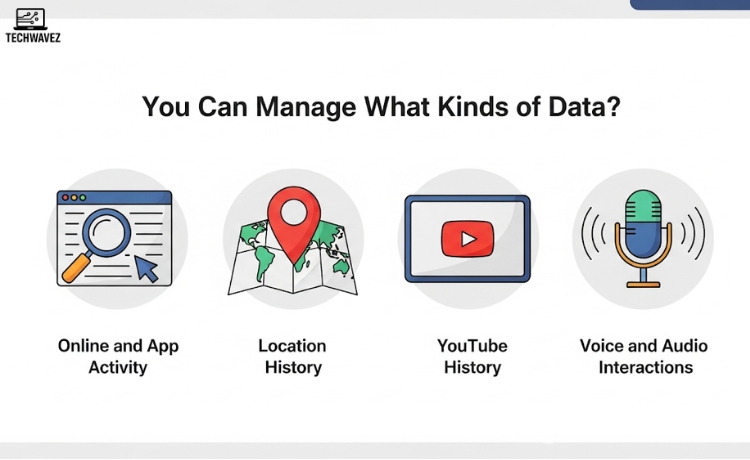
Google lets you manage many kinds of data they retain, thereby allowing you flexibility over how much you wish to retain and how long. These are some instances of data kinds within your control:
- Online and App Activity
Track searches, website visits, and app use to customize suggestions. - Location History
Logs your movements and lets Google Maps provide real-time traffic updates or restaurant recommendations. - YouTube History
Logs videos you have viewed to guide next video suggestions. - Voice and Audio Interactions
Your voice searches are kept here if you use Google Assistant.
Individual management of these categories allows you to customize which certain types of data are kept longer than others.
Advice on Changing Your Data Deletion Settings
- Start with the most sensitive categories
If you’re not sure where to start, concentrate on the most private or non-long-term relevant data you come across or avoid using location history. - Go for shorter retention times
Selecting the 3-month option guarantees that obsolete information is removed sooner and yet allows Google to properly customize your experience. - Review periodically
Review your settings few months from now to become a habit. Needs evolve, hence your data preferences should too. - Limit data gathering from beginning
For some categories, you can completely disable activity tracking if you absolutely do not want the data gathered. Turning off Location History, for instance, renders your whereabouts useless. - Use the Google Takeout Tool
Before any critical data is removed, want to have a backup of it? With a few basic clicks, Google’s Takeout tool lets you download all of your stored data.
Advantages of Automated Data Deletion
- Improved Secrecy
Automatic deletion will help you to save less personal information over time, therefore lowering the danger of sensitive data being visible. - Save Time
Eliminate the need for reminders to personally clean your data. You may “set and forget” these choices knowing your digital footprint stays clean. - A Digital Experience That Is Cleaner
Especially with services like YouTube suggestions, which are better suited to your present interests, reducing clutter enhances responsiveness and clarity, thereby improving their fit. - Mental Calm
Automated data deletion relieves you of concern about years’ worth of kept data haunting the background. You will value this extra degree of protection.
Sort Your Data Right Now to Take Control
You’re significantly moving toward better management of your digital privacy and security by enabling Google’s automatic data deletion. It is quick, easy, and allows you complete control over the length of time your data is kept.
Organizing your data need not be difficult or time-consuming. Following the advice above and investigating your alternatives will help you to easily balance convenience and privacy.
Don’t hold back. Set your data options by logging into your Google account right now. Visit our most recent entries here for further tech advice and useful guides.